Camp Knife
Here is my current project. About a month ago I went camping. I brought a small fixed blade that I had made and found that the handle was no long enough for my hand, and not even close to the right shape. The only way for me to have figured this out was to have tested it, and it showed me where i went wrong.
Trying to cut branches for a fire at -18 degrees C is a chore without a knife that feels wrong in your hands, so I came home with a goal to make a more comfortable knife.
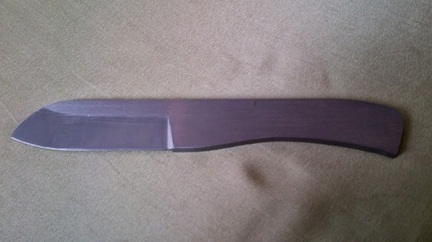
I modified some designs of knives I found on the internet and drew a shape that worked for me. I tried out the feeling with some thin plywood and then went to work on the real thing. Unfortunately I forgot to take photos of the rough profiling, so I will have to describe it. A Sharpie marker helped me to trace the design and a hacksaw to cut the steel. I drilled small holes along the inside curve to make the cutting easier, and then filed away with a half round and regular file to get the desired shape.
The sabre grind bevel was done using the Bevel Jig described in the projects section. It worked like a dream and I am glad that I built it. If you look closely you will see this knife clamped to the base in some of the photos.
Next, I have to drill some holes for pins and to even the weight up, and then it will be time to heat treat.
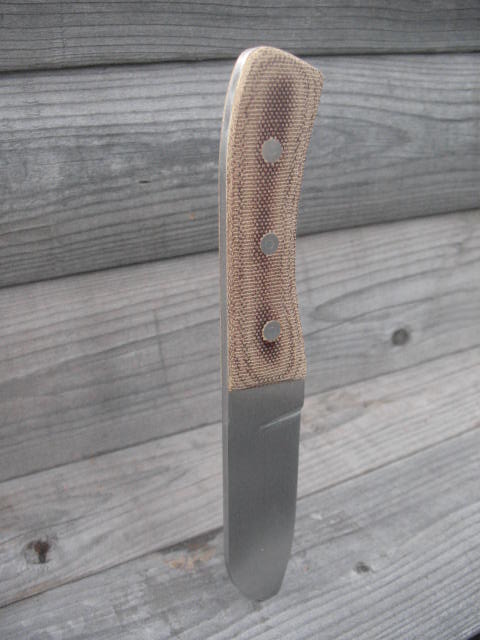
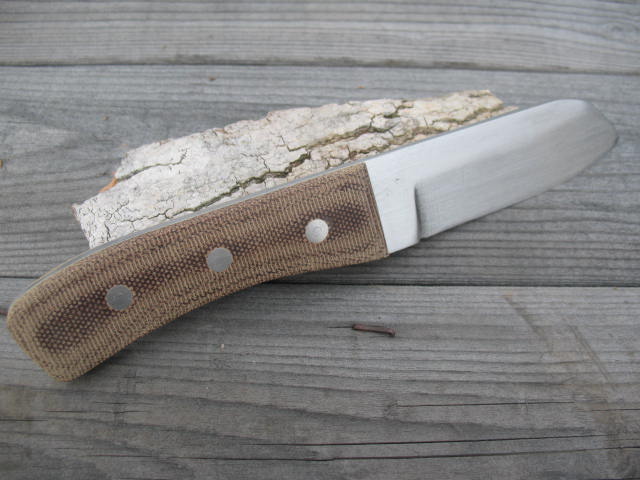
After drilling some holes and heat treating, I used loveless bolts and epoxied the scales on. Below is the finished product. Canvas Micarta scales and stainless steel loveless bolts. I like how it came together. Next is a sheath for the same.
-M
Trying to cut branches for a fire at -18 degrees C is a chore without a knife that feels wrong in your hands, so I came home with a goal to make a more comfortable knife.
I modified some designs of knives I found on the internet and drew a shape that worked for me. I tried out the feeling with some thin plywood and then went to work on the real thing. Unfortunately I forgot to take photos of the rough profiling, so I will have to describe it. A Sharpie marker helped me to trace the design and a hacksaw to cut the steel. I drilled small holes along the inside curve to make the cutting easier, and then filed away with a half round and regular file to get the desired shape.
The sabre grind bevel was done using the Bevel Jig described in the projects section. It worked like a dream and I am glad that I built it. If you look closely you will see this knife clamped to the base in some of the photos.
Next, I have to drill some holes for pins and to even the weight up, and then it will be time to heat treat.
After drilling some holes and heat treating, I used loveless bolts and epoxied the scales on. Below is the finished product. Canvas Micarta scales and stainless steel loveless bolts. I like how it came together. Next is a sheath for the same.
-M

|
|
|
